Pumpkin
Sculptures - Page 5
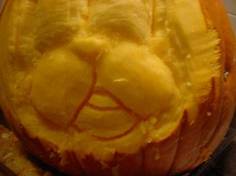
| Once
everything has been rounded out I then go back and carve
deep cuts around the individual shapes again. |
 |
|
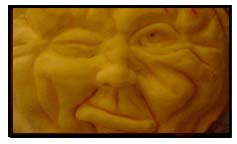
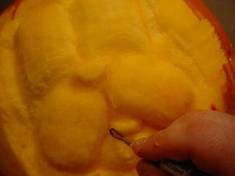
Jumping to the
tongue and chin
I then carve out the lines
for the tongue and chin. |
 |
| Repeating our
rounding steps, I carve away the corners to round out both
the tongue and chin. |
 |
|
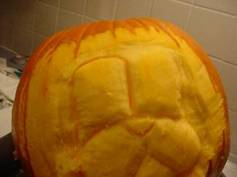
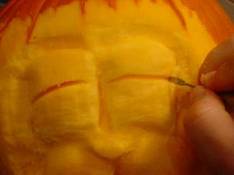
Time for the eyelids
The next step is to define
the eyelids. I carve out a horizontal line about a third
of the way down from the top.
|
 |
|
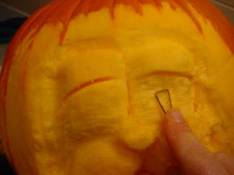
I want my eyeballs to be
recessed a little so I take my medium size loop tool and save
the eyeballs down.
Tip:
Leave the eyelids alone so that the cover the eyeballs. |
 |
Continued on
Page 6
Pumpkin Carving Resources
|
|